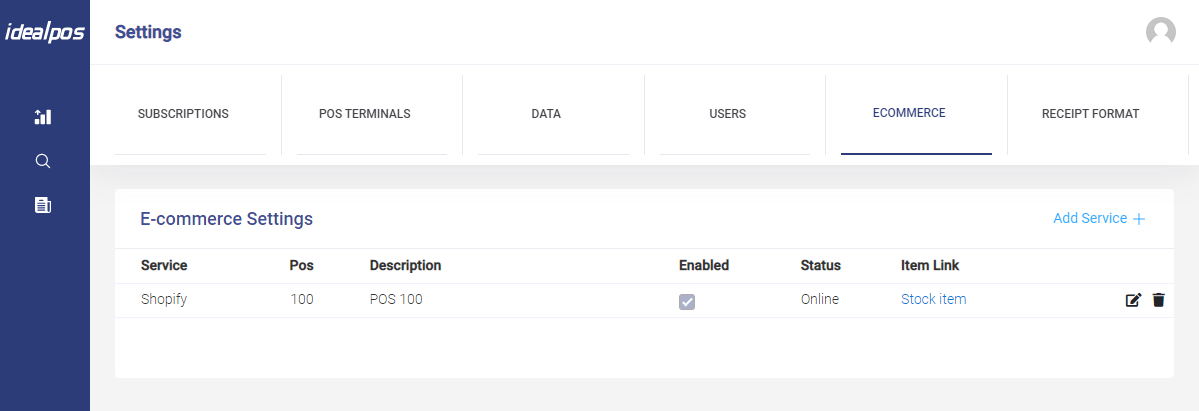
Within the eCommerce tab, e-commerce settings will display an entry which contains settings such as:
Shopify API Key - This is the Shopify API Key that is required by Idealpos Online so that it can communicate with and interface with your Shopify Online store.
Shop Domain - This is your Shopify Shop Domain - e.g. your-store-name.myshopify.com
POS Number - This is the POS Terminal number that will be handling orders received by Shopify.
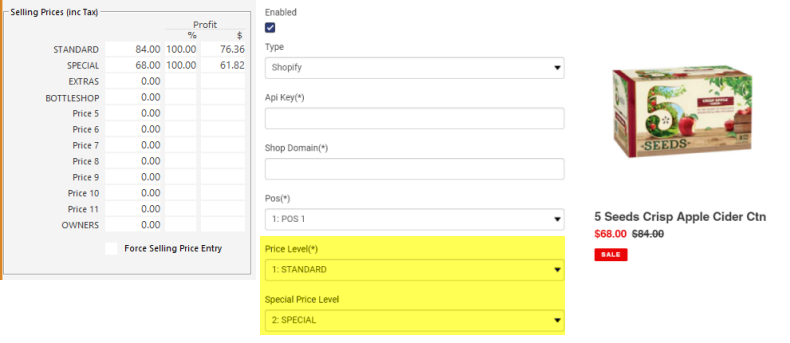
Price Level - This is the Price Level that Shopify will use to sell your items at the standard everyday trade price.
Special Price Level - This is a Special Sale Price Level that will be used to sell your items at a cheaper price when they're on special. The Stock Item's Price in this Price Level can be set to $0.00 if the item is not currently on special and this will cause the standard price that is set in the Price Level (configured above) to appear in Shopify. When the item is being sold at a special price (special price is lower than the standard price), entering the cheaper special price into the Special Price Level will trigger the item to display as a Sale Price in Shopify. If this function is not being used, this setting can be left as 'None'.
Idealpos Stock Location - This is the Stock Location(s) which will update the eCommerce Stock Levels when items are sold in-store.
Shopify Stock Location - This can be used if Shopify has multiple locations; you can set which Shopify location to update Stock Levels. This setting isn't normally used.
Note that the Status may show as "POS Offline" for the first minute or so, however, the Status should change to "Online" shortly after the connection with the Idealpos Service is established with Idealpos Online.
The synchronisation will occur at the interval specified in the "Recurring Job (minutes)" field (Recurring Job minutes can be accessed by pressing the pen icon next to the eCommerce entry to modify and view the current settings configured).
The first synchronisation that occurs will synchronise all Stock Items from Idealpos to Shopify which have the Web Store option enabled.
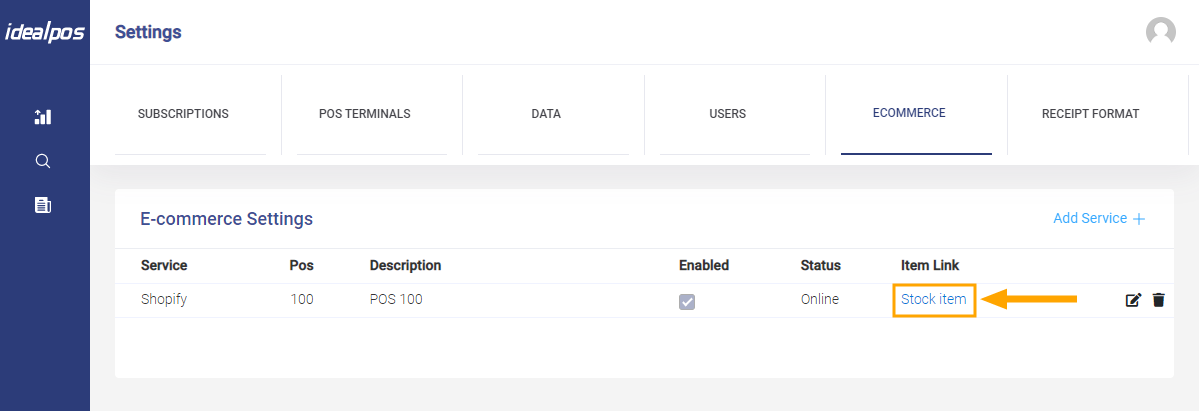
The status of Stock Item Synchronisation can be checked by clicking on the "Stock Item" text as indicated below.
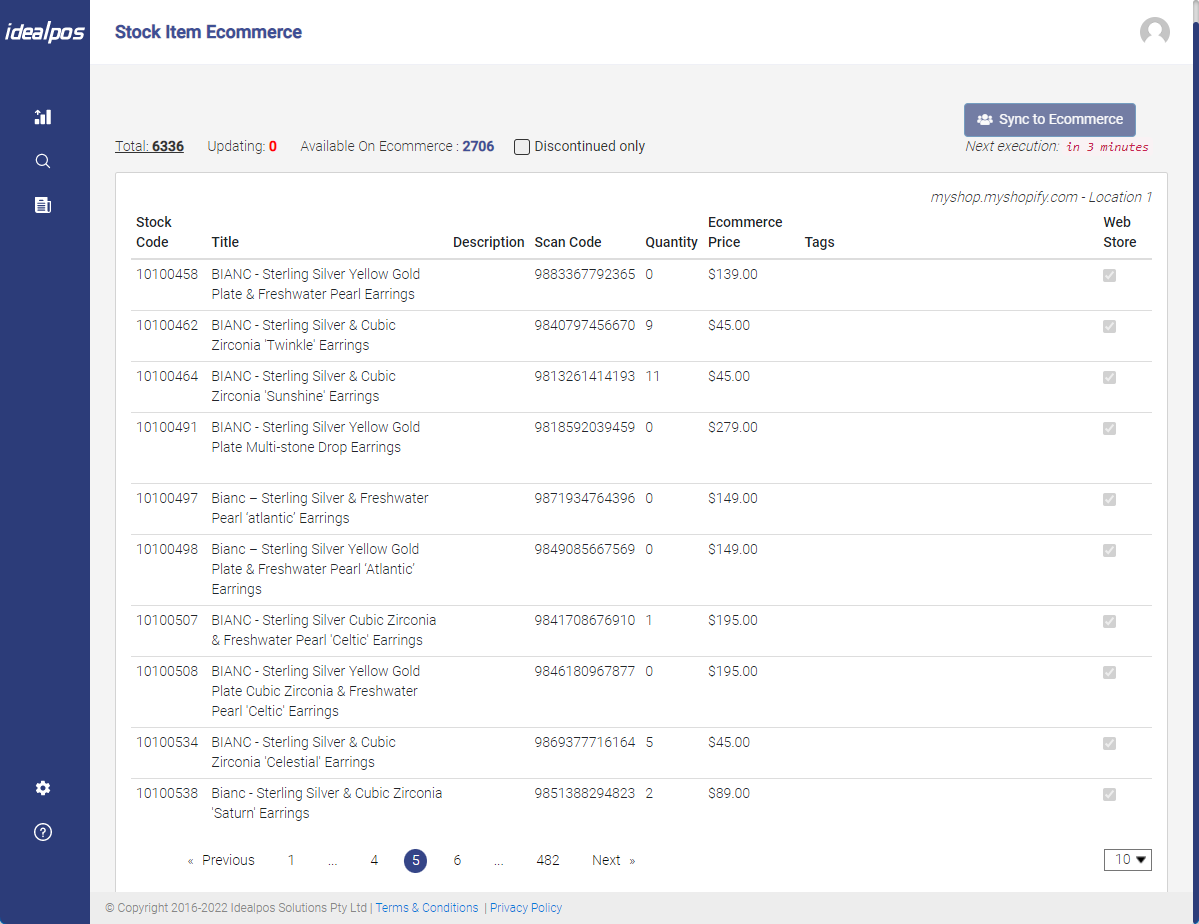
The Stock Item Shopify screen will be displayed. This screen displays Stock Items from Idealpos and has a filter which can be used to filter the items shown.
By default, the filter will be set to "Total" which will display all items, including items that are not marked for Web Store.
The currently selected category that the items are filtered with will be displayed with an underline.
Each category will show a number next to it which indicates the number of Items that exist in that category.
The following categories are available:
- Total - Displays all Stock Items, including items that don't have the Web Store option enabled
- Updating - Displays a list of Stock Items that are waiting to be updated in Shopify. This list is updated every minute by the IdealposService
- Available on Ecommerce - Displays a list of Stock Items that are available in Shopify. These are the Stock Items from Idealpos which have the Web Store option enabled.
- Discontinued - Displays a list of Stock Items from Idealpos that are Discontinued.
In addition to the ability to filter the items on this screen, this page can also be used to Sync to Shopify and view the next execution time.
Additional information on these functions is outlined below:
- Sync to Ecommerce - If there are no Stock Item changes to sync, this button is greyed out. In order to use this button, the Updating category above must contain at least one or more items that having pending changes.
- Next Execution - Displays the number of minutes before the next synchronisation is scheduled to occur. This is based on the number of minutes that were configured in the "Recurring Job Minutes" setting (Recurring Job minutes can be accessed by pressing the pen icon next to the eCommerce entry to modify and view the current settings configured).
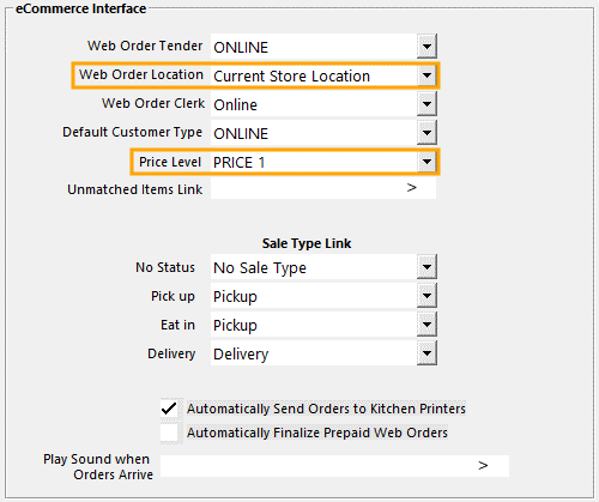
Go to: Setup > Global Options > Interfaces > Select eCommerce
Web Order Location - The Web Order Location selected in Idealpos will be used for reporting sales.
If Web Order Location is set to Current Store Location, the Location of the current store will be used.
Otherwise, you can manually select the specific Web Store Location from the dropdown list.
Price Level - Ensure that the Price Level selected matches the Price Level configured in Idealpos Online eCommerce (Price Level in Idealpos Online eCommerce can be accessed by pressing the pen icon next to the eCommerce entry to modify and view the current settings configured).
Unmatched Items Link - When an order is received from Shopify which contains an item that does not exist in Idealpos, the Item that is selected in the Unmatched Items Link will be used.
Automatically Send Orders to Kitchen Printers - When a Web Order is received which contains items that are configured to print to Kitchen Printers, the Orders will be automatically sent to the Kitchen Printers
Automatically Finalise Prepaid Web Orders - All Orders that are received from Shopify are pre-paid. If this option is enabled, Web Orders will be auto-finalised in Idealpos and they will not appear at the top of the POS Screen after they're received.
Any other settings can be configured as required.
This step can be skipped if Webit is not installed on your system or if Webit was not configured to process Shopify orders.
Important details before completing this step: Ensure that your Idealpos system is running the latest build of Idealpos.
After the Shopify interface has been disabled in Webit, do not change any Stock Items in Idealpos until after the next sync between Idealpos Online and Shopify has taken place.
The sync status can be checked as outlined in step 12 above.
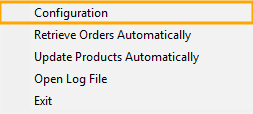
To disable Shopify in Webit, right-click on the Webit icon in your Windows System Tray and select "Configuration".

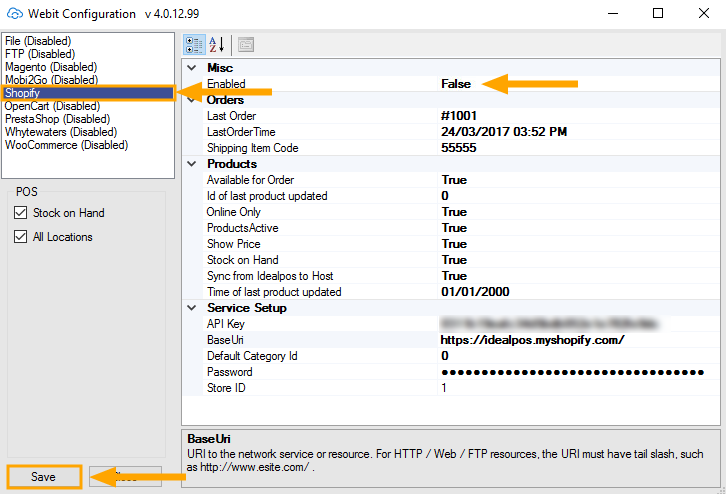
Select "Shopify" from the list of available eCommerce Interfaces on the left-hand side.
Change the Enabled setting to "False", then press the "Save" button on the bottom-left corner of the Webit Configuration window
If required, you can also Exit Webit by right-clicking on the Webit icon in the system tray and selecting "Exit".
This step covers the process of enabling and capturing payments.
If Payments have not already been configured in Shopify, this can be done by going to your Shopify Admin page.
The Shopify Admin page is typically your shop URL with /admin appended to the end.
E.g. https://myshop.myshopify.com/admin
Once you have logged in, press the "Settings" button on the bottom-left corner of the screen.

Select "Payment providers" from the list of available options:

If Shopify payments have not been configured, you'll see an option similar to the below displayed at the top of the page:
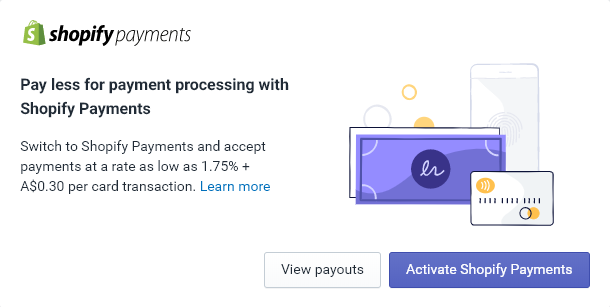
Press the "Activate Shopify Payments" button and complete the Shopify Payments form on-screen.
Details required include Business Details, ABN Number, Business Address, Billing and Banking Details.
Once complete, press the "Complete Account Setup" button at the bottom of the page.
When Customers place orders on your Shopify store, their Payments will need to be captured so that the order can be sent to Idealpos.
Depending on how you run your business, you can select from the following payment capture types:
Payments captured manually - You will need to manually capture the payment via the Shopify site after the customer has placed their order; once captured, the order will be sent to Idealpos.
Payments captured automatically - Payments will be captured automatically and orders will be sent to Idealpos without manual intervention.
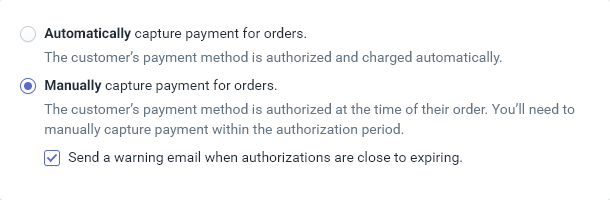
Scroll down to the bottom of the Payment Providers screen and select Payment Capture type that you want to use.
The below example shows a manual capture type:
Once the Payment Capture Type has been set, ensure that you press the "Save" button at the bottom of the page to save your changes.
- Idealpos is now ready to receive orders from Shopify.
When a Customer places an order from your Shopify Store, Idealpos will receive the order once the payment has been captured in Shopify.
If the Payment Capture is set to automatic, the order will appear in Idealpos after the customer has paid for their order.
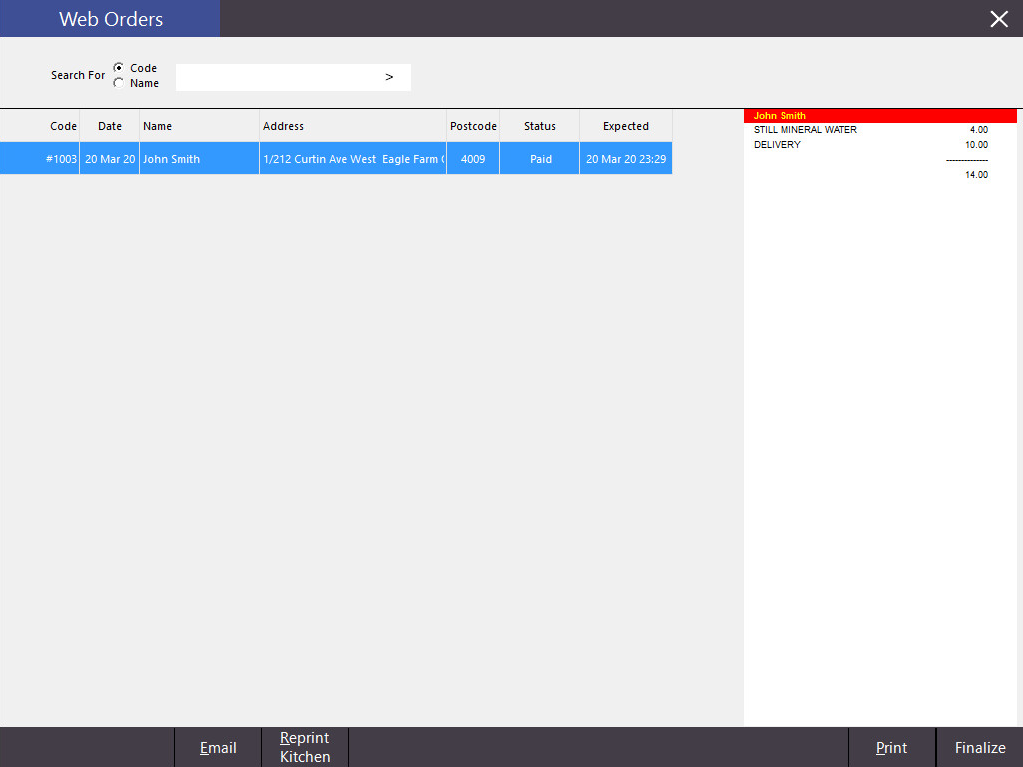
After a Web Order has been received by Idealpos, a WEB ORDERS button will appear at the top of the POS Screen.
The number displayed on the button indicates the number of Web Orders that are waiting to be finalised.
Press the WEB ORDERS button any time to view the Web Orders that are waiting to be finalised.
A list of Web Orders will be displayed on the left-hand side of the screen and the items included in the currently selected order are displayed on the right-hand side of the screen.
The following buttons are available at the bottom of the Web Orders screen as follows:- Email - Displays an email prompt which can be used to send the Web Order to an email recipient.
- Reprint Kitchen - If the Web Order contains Stock Items that are configured to print to Kitchen Printers, pressing this button will re-print the Stock Items to their respective Kitchen Printers.
- Print - Prints a copy of the order to the receipt printer
- Finalise - Finalises the order and clears it from the Idealpos Web Orders screen

If the Payment Capture is set to manual, the order will appear on the above screen after you have manually captured the payment via the Shopify site.
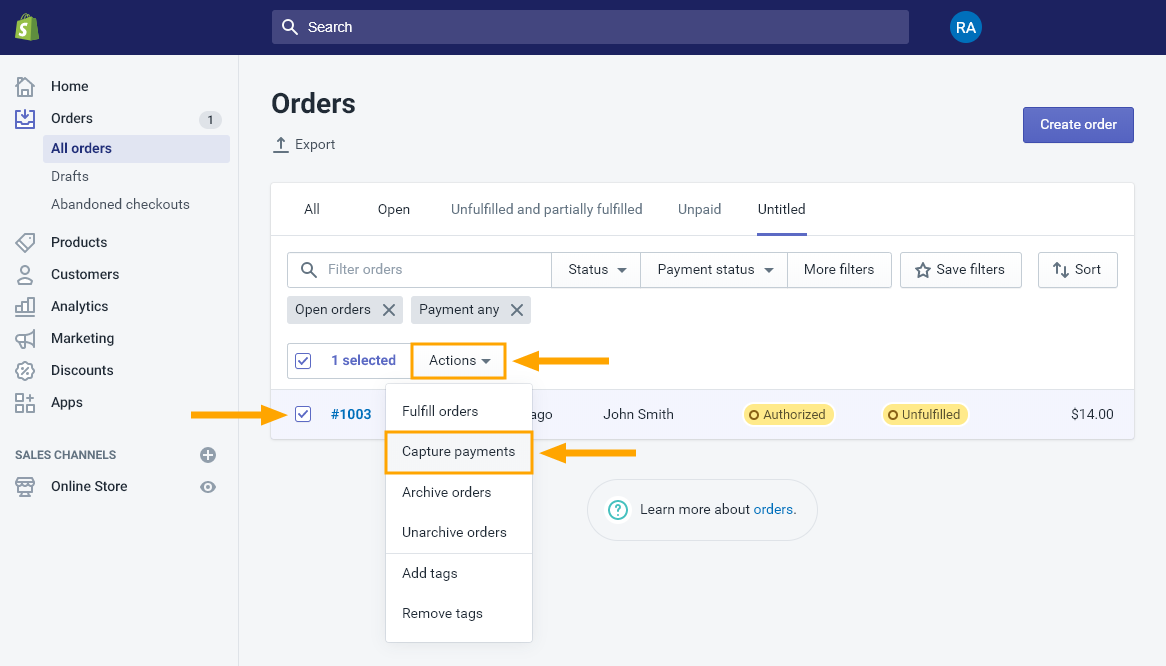
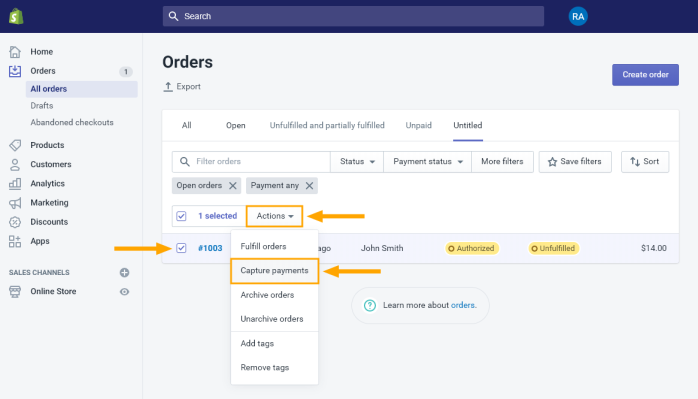
The process for capturing manual payments is outlined as follows:- Go to your Shopify Web Store Admin interface and select Orders.
- A list of orders will be displayed. The filter can be used to display specific orders.
- Enable the checkbox next to the order that you want to Capture Payment. If required, multiple orders can be selected.
- Press the "Actions" option, then press "Capture Payments".
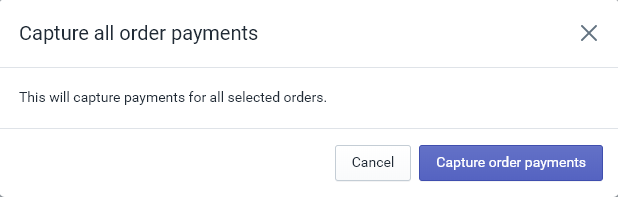
- A Capture all order payments prompt will appear. Press the "Capture order payments" button to confirm the capture of payments.

- The Web Order will now be sent to Idealpos.
- Once Idealpos receives the Web Order, a WEB ORDERS button will appear at the top of the POS Screen.
Once Idealpos receives the Web Order, the WEB ORDERS button can be pressed to view the Web Order and perform additional tasks such as Email, Reprint Kitchen, Print or Finalise: